At MAKE, we’re pretty much obsessed with Adobe Character Animator. It’s user friendly, and when we use it to create content for clients, we get the best feedback. However, a solid video strategy doesn’t always start with understanding the tools used to create it, but rather, the client. When creating an animated video, a lot of work is spent developing the animations and bringing the video to life. There are many steps to creating a video like this one. Yet, the first and most important steps is meeting with the client to get a solid understanding of what they want out of the video. How can we, as an agency, gain knowledge about their business to bring the client’s idea to life.
UNDERSTANDING THE INTENT
The first step to creating a great video or any great ad is understanding what the client wants. It’s important to understand the picture they have in their head. You should talk about the project and learn as much as you can about the actual subject matter. After that, you can begin the design process. Throughout this process, you can typically begin to get an idea of which topics to really emphasize. You’ll discover what aspects the client is most passionate about.
Clients may not even realize themselves what topics or features they want a video to focus on when we ask them. But, their natural enthusiasm and comfort light the way for us to follow.
PUTTING THE PIECES TOGETHER
When it comes down to actually starting the design process for the video, our team uses several different Adobe apps. Before putting the video together, it starts out as a kind of puzzle. The first piece is creating some rough sketches which show concept art that gives the client an idea for how we envision the project. We use an iPad and a trusty Apple Pencil to sketch because it’s so accurate. We also use Adobe apps because they are easy —not to mention rich with features—and seamlessly transfer projects over devices and apps.
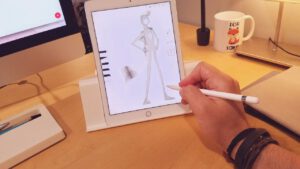


Adobe Sketch is perfect for drawing the characters out by hand, and then we bring it into Adobe Photoshop where we can start adding the background and color elements. For this particular project we also had to incorporate a voiceover, so we worked with the client over multiple sessions to hash out a script that balanced technical knowledge with a conversational, accessible tone.
Next, we created an outline to show the client so they could get a better understanding of our ideas for the video based on earlier conversations about the topic and project. Once the client approves the outline, it is time to start creating the storyboards. Through this step, we are able to hone down the topics and start organizing them into a rough storyline. These storyboards represent the map for the video itself.
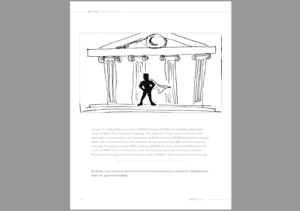
When creating the storyboards we use Adobe InDesign. This is when we begin the process of sketching out each major scene for the video along with the text for the script and then describe below in layman’s terms what each slide is.
BRINGING THE CONCEPT TO LIFE
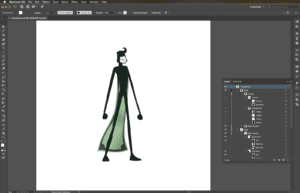
From there, animators bring the sketches into Adobe Illustrator or Photoshop to be cleaned up, colored in, and finalized. They prepare for puppet rigging by separating out elements on individual layers. Elements such as the head, eyes, mouth, body, arms, can get tedious, but it’s totally worth it when these drawings come to life.
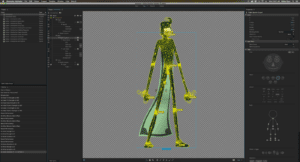
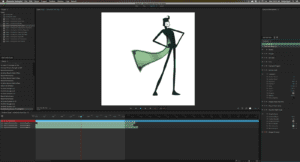
To add that life, we use the fairly new—and fairly awesome—Adobe Character Animator to rig a sketch just like you’d rig a real puppet. We give them bones, joints, draggable handles, and so on. Then, we animate them using a webcam and audio (and some pretty sweet acting skills) to move the body parts in a realistic way for the video.
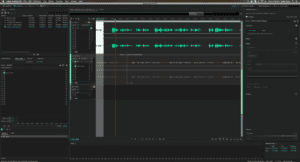
We use Adobe Audition to master the audio.
We cut it up to be used throughout the video and placed into the scenes. This is when we get the script and voice audio matched up with the mouth movements and mannerisms performed by the character animations.
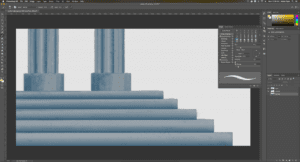
Once you give the characters movement, we move it all into Adobe After Effects. Here, we place each character into the scenery of the video. You can create all of the scenery using Adobe Photoshop, and once you animate everything, our visuals for the video are complete.
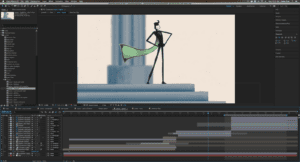
From After Effects, we render the visuals to a sequence of images. Think of it like one of those old flip books, only with potentially tens of thousands of pages. We do this so that a small change to a specific section of the video doesn’t force us to re-render the entire thing; you only need to change that portion.
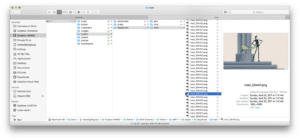
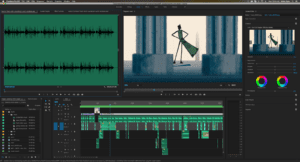
You can then import that image sequence into Adobe Premiere Pro. Here, we perform color correction, add music and sound effects for the video, call-to-action text, and any other last-minute additions. Sync up the visuals with the audio, and tweak each element to its final attributes. Then, the video is ready for production.
The project’s final stop is Adobe Media Encoder. Here, you export the video to one or more formats—typically an MP4 file. This way, it can be ready to rock on YouTube or Vimeo and shoot across the web on social networks to a device near you.
And voila! Your very own video, replete with animated characters that bring the story of your product—or company, or idea, or next big thing—to life.
Check out the video on Character Animator’s July Tips and Tricks!
Don’t get us wrong, you’re not going to be an expert on your first trip around the sun with Adobe Character Animator. But that’s why agencies like MAKE exist. We can help you develop a vision, strategy, and next-steps for creating a genuine, usable video. Even better? We can do the dirty work – getting down to the nitty gritty animation. Learn more here.


